Shooting Drills
One Hand Form Shooting Drill
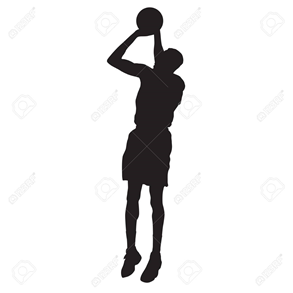
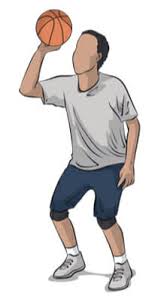
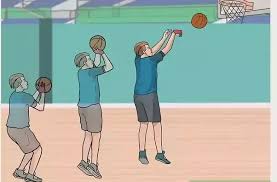
Most of you have seen this 1-hand shooting form drill. Even though it is nothing new, don’t dismiss the importance of this foundational drill. This reinforces good technique of the “release” portion of your shot.
For this progression, we focus on getting our feet about shoulder width apart or slightly narrower.
You should be in a strong, balanced position.
Make sure to check your feet and develop consistency on every shot. We prefer to slightly stagger our feet or slightly turn them. The anatomy is different for every one. You need to find what works for you.
Next, make an L with your shooting arm.
Focus on pushing the ball up and out. Your elbow should finish above your eyes.
Focus on pushing the ball through your fingers. Typically, you should either finish with your index finger pointing at the hoop or with your index/middle finger pointing at the hoop. Find what works best for you.
When you properly shoot “up and out” and “push through your fingers”, you will get the proper backspin on the ball.
One Hand Form Shooting Drill – With Guide Hand
Next, we work on adding the guide hand to the shooting release.
Since athletes have a tendency to use their guide hand, we do not have guide hand touch the ball in this progression.
This is highly important because when you overuse the guide hand, a lot of players will miss to the right and the left. If you can eliminate shooting to the right or left, you will automatically make more shots.
Dribbling Drills
1. Ball Slaps
Continuously slap the basketball from one hand to the other. This is a great drill to start with to get your hands ready for the workout.
2. Straight Arm Finger Taps
While making sure to keep your elbows locked, tap the basketball quickly back and forth straight out in front of you. When you become good at this drill start moving the ball up and down.
3. Wraps – Around Ankle
Wrap the ball around your lower leg/ankles without letting the basketball touch the ground.
4. Wraps – Around Waist
Wrap the ball in a circle motion around your waist.
5. Wraps – Around Head
Wrap the ball in a circle motion around your head.
6. Wraps – Around the world
Involves combining the wraps around the ankles, waist, and head into one drill. Start by wrapping the ball around your head, then bringing it down and around your waist, and finally around your ankles. Then back up to your waist, then head, then waist again, etc.
7. Wraps – Figure 8 Around Legs
Wrap the ball in a figure 8 motion around your legs.
8. Wraps – Around Right Leg
Starting with your right leg in front and your left leg back, wrap the ball around only your right leg.
9. Wraps – Around Left Leg
Starting with your left leg in front and your right leg back, wrap the ball around only your left leg.
10. Wraps – Double Leg, Single Leg
Start with your legs together. Step your right leg forward and circle your right leg with the basketball. Then immediately step back with your right leg so that your feet are together and circle both legs. Then step out with your left leg and circle it before stepping back together and wrapping the ball around them both. Continue this process.